Okay, so it’s no secret that I love wine and painting events. They give you wine. They give you paint. You have a grand ol’ time! At my most recent foray into wine and painting, I took 3 of my best friends along with me.
Here is the original painting that they were teaching us how to paint:
I chose this elephant painting because it seemed relatively easy to paint (which is a MUST for first-timers), and I also thought it would be really cute to put in my baby’s nursery.
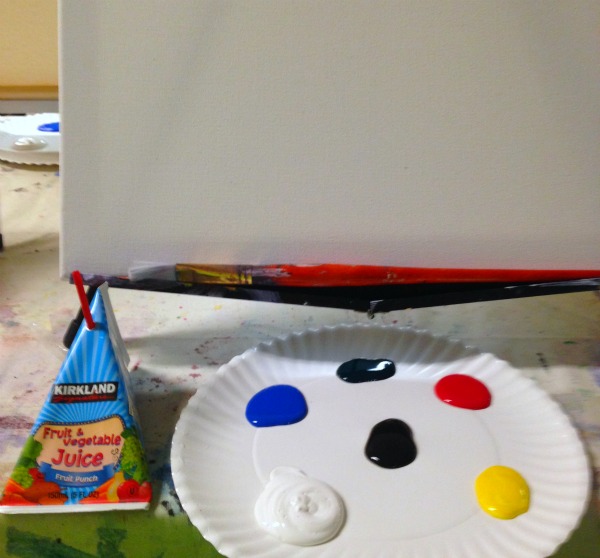
The wine and painting event was held at a bar, but since I’m preggo they were nice enough to provide me with a non-alcoholic beverage.
Yep, that’s a juice box! I’m not ashamed to say it: I love juice boxes. It’s out there now. I refuse to take it back.
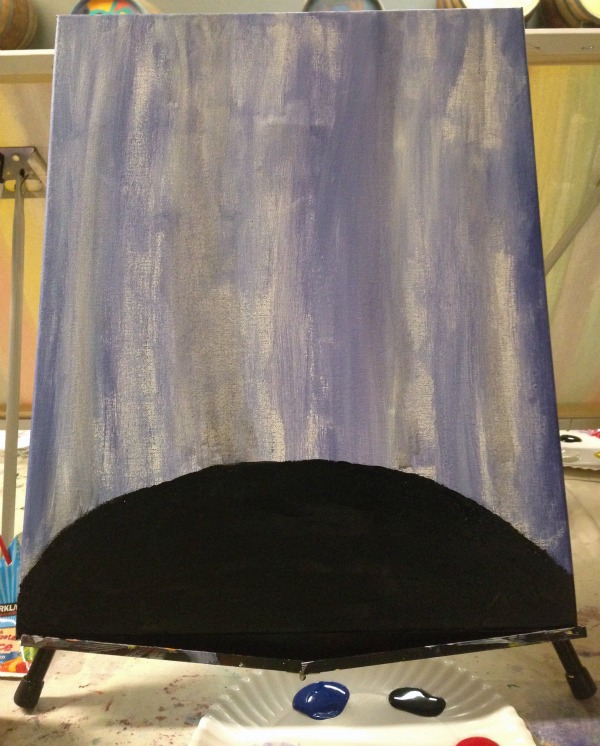
We started by painting the background of the elephant painting. The instructor suggested we do an array of pastel colors. Because my baby’s nursery is going to be purple and gray themed, I decided to go with a purple/white/gray background.
If you’ve decided to DIY this painting at home (which I imagine all people that read my painting posts do), just make sure to make it kind of streaky looking. I think it makes it look “rustic.”
Next, you’re going to go Bob Ross on your painting and draw in a happy little hill. You can make it all black. You can make it purple, blue – the sky’s the limit. Just make sure to make that happy little hill large enough for your happy little elephant to perch on.
Okay, so I probably could have taken a few more pictures when explaining the next steps, but you know how I get when I’ve had too many juice boxes. That fruit juice just goes straight to my head!
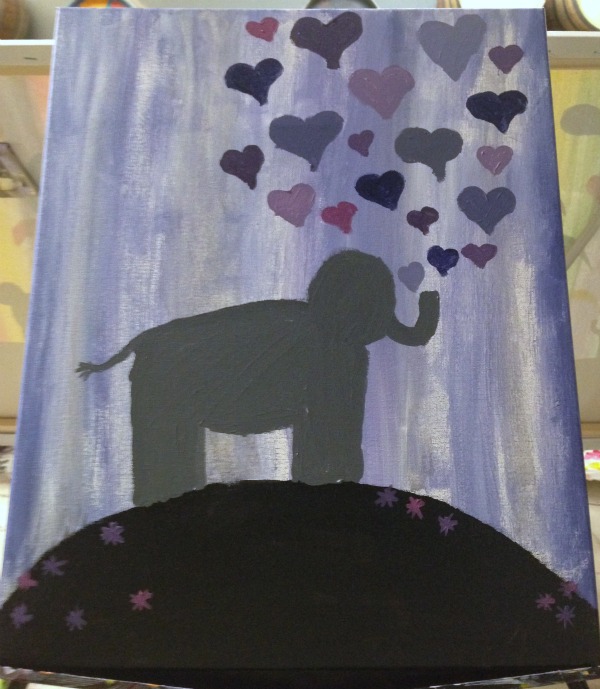
To draw the elephant you’re going to start by making a circle for the head. Next you’re going to make an adjoining circle for the body, plus two thick “sticks” for the legs. Don’t worry about separating the legs at this point, that comes later.Next, paint on a little sideways scoopy “C” for the trunk and add on a cute little tail.
And now it gets fun. Because…you get to mix paint! Woohoo! I love mixing paint. In the original painting the elephant was blowing different colored water drops out of its trunk, but I decided to go with hearts. Starting with smaller drops/hearts towards the bottom, and making them bigger as you go up, you’re just going to make a variety of different colored shapes that the elephant is blowing. I went with a variety of purples and grays for the hearts.
At the same time, you’re going to continue channeling Bob Ross, and you’re going to paint some happy little flowers on your happy little hill. The flowers are also going to be in a variety of colors, so you can kind of add in the flowers as you mix up your different colored paints for the hearts/water drops.
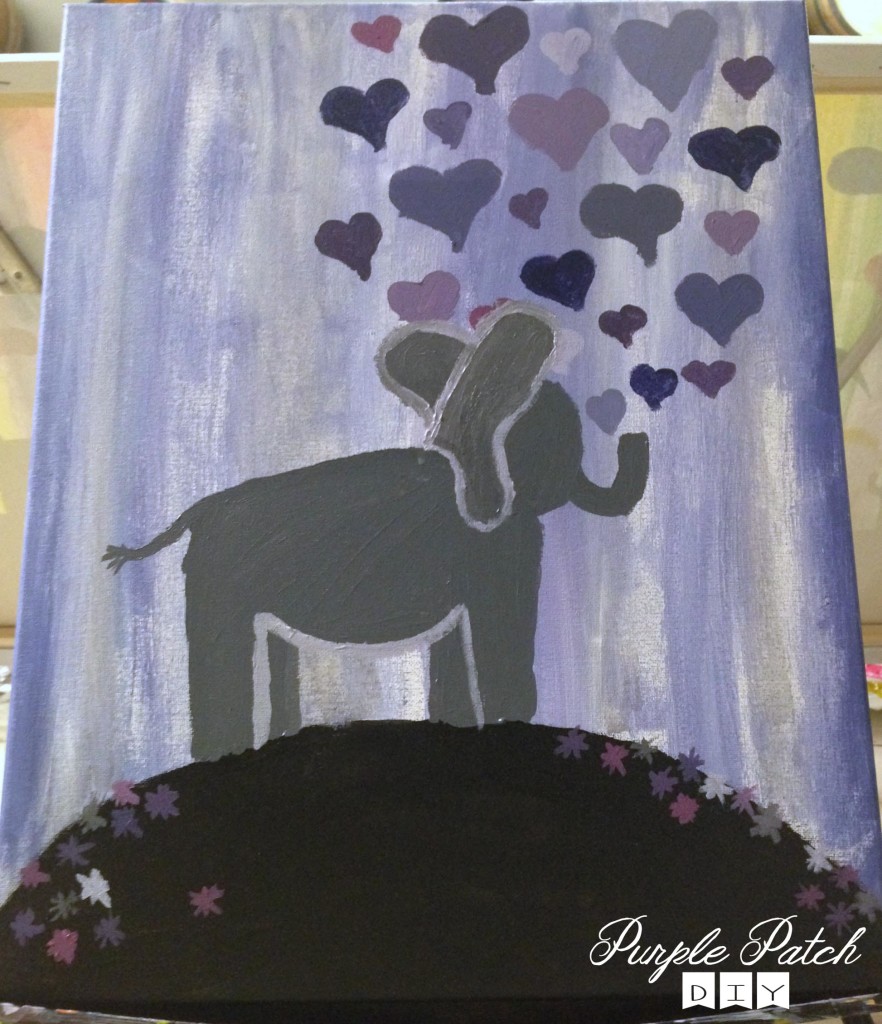
Now here’s the part where it can get a little tricky. You’re going to take either white paint, or a lighter color paint than your elephant, and do some detailing. Basically you’re going to split the two thick legs that you painted into two legs each. It’s pretty easy to make just a swoopy little “M” under the elephant’s belly to do it.
But now here comes the tricky part – that darn elephant’s ear. If you compare my painting to the instructor’s painting, you can see that I totally did it wrong. According to the wine and painting teacher, you’re supposed to make a “backwards 3” against the elephant’s head in order to do the outline of the ear. I wanted more of an “overt” ear, so I just painted one on. And that’s the fun thing about wine and painting – you do what you want!
Prime example: here are the paintings that my friends and I did. As you can see, none of them really look anything like the original. And that’s totally okay. It’s actually pretty awesome in my opinion. I made a big old purple elephant. One of my friends made pigs instead of an elephant. Another friend made an all turquoise. And my other friend made his elephant wearing high heels – so fun!
